› dedicated both for load-bearing walls and partition walls;
› suitable for blocks in TLMB dimensional class made from autoclaved aerated concrete, ceramic hollow bricks and silicate blocks, with appropriate solutions for this type of high dimensional tolerances
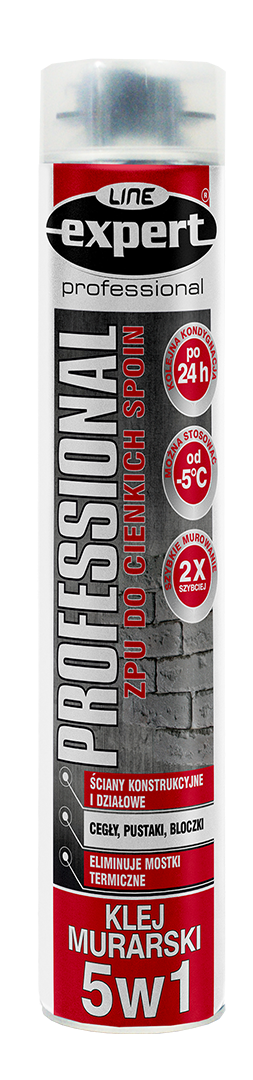
› The polyurethane mortar for thin joints allows for quick and durable erection of walls from various building materials that meet the requirements for appropriate dimensional deviations.
› Masonry mortar for thin joints is characterized by high frost resistance and water resistance.
› It is protected against the formation of mold and fungi in the joint.
› The polyurethane mortar allows for continuation of works at low temperatures (down to -5°C), which effectively extends the construction season.
› The masonry mortar has excellent thermal insulation properties, which allows for the elimination of thermal bridges, which are not desired in the technology of energy-saving construction.
› Easy and clean application.
Colour light grey
Working temperature (ambient temperature) from -5°C to +30°C (optimally +20°C)
Can temperature optimally +20°C
Skin formation time 5-12 min (23°C, RH 50%)
Correction time < 3 min
Full hardening time 24 h
Sound insulation to 61 dB
Thermal conductivity coefficient λ 0,036 W/(m·K)
Increase in height (expansion degree) of the foam applied in the gap), % ≥ 135
Tensile strength, kPa ≥ 100
Tensile strength (perpendicular to the plane of bonding) of the joint: ceramic block (group 2) − polyurethane mortar− ceramic block (group 2), kPa ≥ 100
Tensile strenght (perpendicular to the plane of bonding) of the joint: ceramic block (group 3) − polyurethane mortar− ceramic block (group 3), kPa ≥ 70
Tensile strength (perpendicular to the plane of bonding) of the joint: ceramic block with wool − polyurethane mortar− ceramic block with wool, kPa ≥ 120
Tensile strength (perpendicular to the plane of bonding) of the joint: autoclaved aerated concrete block − polyurethane mortar– autoclaved aerated concrete block, kPa ≥ 170
Tensile strength (perpendicular to the plane of bonding) of the joint: silicate block − polyurethane mortar− silicate block, kPa ≥ 200
Substrate preparation:
The first layer of the wall must be raised with the use of traditional mortar. Only this guarantees precise levelling of the whole wall. In the case of substrates made of self-levelling floors, the erection of walls can be started by directly applying PU mortar to the substrate. Wear protective gloves. The working surfaces must be free of dust, debris and other materials that would impair the bond strength. Thoroughly clean and degrease the working substrate. Moisten the working surface with water, using e.g. a brush or sprayer. Protect surfaces from dirt (of PU mortar). Surfaces may become dirty from PU Mortar so should be protected e.g. with foil.
Product preparation:
Before use, warm the can with foam adhesive to room temperature (optimally +20°C) by, for example, immersing the can in warm water. Shake the can vigorously for 30 seconds to thoroughly mix the ingredients. Screw the can onto the expanding foam gun.
Adhesive application:
Dispense the adhesive in the ‘upside down’ working position. Adjust the adhesive flow by adjusting the knob or pressing the trigger of the application gun.
Apply the mortar with one bead in the middle of the block with a width of 12 cm or two parallel beads for blocks with a width exceeding 12 cm. Apply the mortar on the long side of the block keeping 3 cm distance from the side edge of the block forming bead with required diameter 3 cm for autoclaved aerated concrete blocks or bead with required diameter 5 cm for ceramic hollow bricks and silicate blocks. Blocks should be put on applied mortar up to 3 min after mortar application. The laid block should be pressed lightly in order to obtain thin joint evenly spread over the surface of the block. To achieve the desired accuracy position of the blocks should be leveled. Blocks can be horizontally corrected within 3 minutes by up to 0,5 cm without detaching them from the wall. Stabilize the blocks with a rubber hammer. Blocks cannot be removed from the wall. In case taking off the block required applying new lines of mortar. To eliminate thermal bridges and increase walls durability and resistance, mortar should be applied also on vertical surfaces of the blocks, in corners and connection between partition walls.
If application is interrupted for more than 15 minutes, secure the foam dispensing gun, leaving the can screwed on the gun until the next use. When work is complete, clean the gun of adhesive residue with PU Expert Line Foam Cleaner